MySQL is a popular relational database management system (RDBMS) that is used by many organizations to store and manage data. Elasticsearch is a popular search engine and analytics platform that can be used to index and search large amounts of data.
In this article, we will discuss how to sync data from MySQL to Elastic search in real time. This will allow you to take advantage of the search and analytics capabilities of Elasticsearch without having to manually copy data from MySQL.
Gather Credentials
The first step is to gather the credentials that you will need to connect to MySQL and Elasticsearch. For MySQL, you will need the username, password, and hostname of your MySQL server. For Elasticsearch, you will need the username, password, and hostname of your Elasticsearch cluster.
Get Logstash and the MySQL JDBC Driver
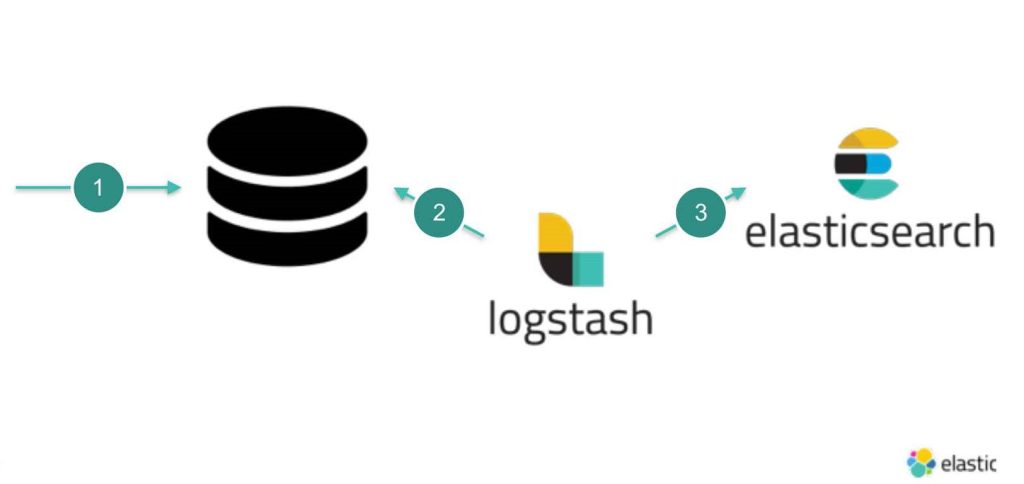
Next, you will need to download and install Logstash. Logstash is a tool that can be used to collect, process, and forward data from a variety of sources. In this case, we will use Logstash to collect data from MySQL and forward it to Elasticsearch.
You will also need to download the MySQL JDBC driver. The MySQL JDBC driver is a library that allows Java applications to connect to MySQL databases.
Add Timestamps to MySQL Tables
In order to sync data from MySQL to Elastic search in real time, we need to add timestamps to our MySQL tables. This will allow Logstash to track changes to our data and forward them to Elasticsearch in real time.
To add timestamps to our MySQL tables, we can use the following SQL statement:
ALTER TABLE table_name ADD timestamp TIMESTAMP;

Set up a Logstash Pipeline with the JDBC Input Plugin
Now that we have gathered our credentials and added timestamps to our MySQL tables, we can set up a Logstash pipeline with the JDBC input plugin. The JDBC input plugin allows Logstash to collect data from MySQL databases.
To set up a Logstash pipeline with the JDBC input plugin, we can use the following configuration file:
input { jdbc { jdbc_driver_class => “com.mysql.jdbc.Driver” jdbc_connection_string => “jdbc:mysql://localhost:3306/database_name” jdbc_user => “username” jdbc_password => “password” statement => “SELECT * FROM table_name” schedule => “*/5 * * * *” } }
output { elastic search { hosts => [“localhost:9200”] index => “mysql” } }
This configuration file tells Logstash to collect data from the table_name table in the database_name database every 5 seconds. The data will then be forwarded to Elasticsearch with the index name mysql.
Start Logstash
Once we have configured Logstash, we can start it by running the following command:
logstash -f config.conf
Conclusion
In this article, we have discussed how to sync data from MySQL to Elasticsearch in real-time. By following the steps in this article, you will be able to take advantage of the search and analytics capabilities of Elasticsearch without having to manually copy data from MySQL.
